Saturday, February 27, 2021

Slide of the Month Extra Tutorial -Metal Loops

 Metal loops take on so many different forms depending on your needs and imagination


Metal Strip

Metal strips can be made from just about anything from aluminum flashing to and old tin can. The tools I've used to make the cut range from tin snips to a sturdy scissors. 

Pop rivet attachment

Wires

Wire is great because it has so much flexibility (pun intended? you be the judge). No really, I can shape it any way I want and can attach various ways.


Copper wire soldered

Steel wire glued

Steel wire friction fit


Stainless steel wire wrapped around wood
(hidden by thread wrap)

 Steel wire - Free form 
(the wire holds it's form while floating in slide)

Copper electrical wire - In the body of the slide
 

As a part of the slide

The first of these have extra length "ears" that form the slide.

Aluminum metalworking

Iron - Blacksmith style

Saturday, February 20, 2021

Slide of the Month Extra - Philmont Amateur Radio Association


February 2021

Time to make: 2 hours

Finishing: 1 hour

Original design:  Philmont / Bill Macfarlane


Did you know Amateur Radio enthusiasts sometimes operate at Philmont?  There is even a station at the Tooth of Time Traders and the club's call is K5PSR. Hear is my concept slide for the Philmont Amateur Radio Association.

Carved from southern (pallet) pine, it is the the standard Philmont arrowhead shape and color. I designed the slide using some clip art and lettering printed to waterslide paper. I finished it off with a couple coats of polly.

Wednesday, February 17, 2021

Slide of the Month Extra Tutorial -Leather Loops

Leather loops are used in about 3% of my slides and the kind of leather I use varies based on what I have on hand. The other factor that plays into what I use is how it is going to be used. That being said on to how I use leather in slide loops...


A simple loop

 I cut a 3 to 3.5 inch long x 1 inch wide piece leather and then I stitch the ends together. If the leather is thin, like from a golf glove, leather sample. or from a old wallet/handbag, I can simple sew the ends together. If the leather is thicker, like from belt,  dog collar or other scrap, I'll punch holes into the leather before stitching it into a loop.   

Loop Attachments:

The first kind is as a part of a leather slide. In the example below, the leather slide had ears cut into the design to form the loop.


Glued loops to slide:


Physical connection to the slide (screw, pop rivet, ...etc):
 In this case, the slide is the compass slide and the connection is a friction fit through the leather loop to a piece of plastic.


Half leather loop

A half loop sewn into the slide is another method I use.


Leather Lacing

The last kind of leather I use (so far) is leather lacing. The lacing is not only the loop but a part of the slide. For example, the pine cone slide has leather lacing threaded through the pine cone forming the loop in the back and decorative pieces in the front. I can adjust the loop in the back by simply pulling the lacing in the front  which tightens the loop in the back.


Friday, February 12, 2021

Slide of the Month Extra - Philmont 2016


February 2021

Time to make: 3 hours

Finishing: 1 hour

Original design:  Philmont / Bill Macfarlane


I like the compass feeling of this slide and the fact it was probably the last time our council had a successful contingent go to Philmont. (2018 - Ute fire and 2020 Covid-19)


Carved from southern (pallet) pine, it was a challenge to whittle the levels of the compass while trying to keep the segments even. I painted it with hobby paints and used waterslide paper to create the scenes in each segment. A couple of coats of poly finish it off.  

Friday, February 5, 2021

Slide of the Month Extra Tutorial -Wire Coat Hanger Loops


Ode to the coat hanger. A staple in homes when I was growing up to hang clothes, to reach for that thing behind the couch, a toy fishing pole, large bubble wand and the ever popular "Oh crap, I locked my keys in the car. Now a days they are harder to find as the most folks have plastic coat hangers or really nice wooden ones. But all is not lost, look in the back of your closet for something you had dry cleaned or perhaps at your grandparents house. (Worst comes to worst, you can buy stiff wire from a home improvement store.)

When making Whittlin' Jim's slides, sometimes the slide called for a loop made from a coat hanger and I found these loops make a great alternative in places when the wooden loops just didn't work. Currently, wire loops make up about 10% of my slides but on with the tutorial...

 Using a pair of needle nose pliers I carefully unwind the coat hanger and cut a length for the loop. Then, using the pliers again, I can shape any style loop I want.


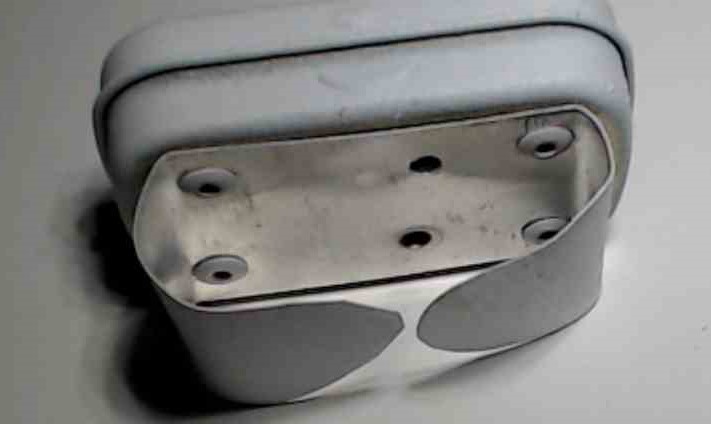
One thing to notice is how I finish the loops with a couple of ears at the end. These ears will fit into a couple of holes I drill into the slide I'm working on.


The nice part about the rings is even if the hole I drill don't exactly line up, the wires can be bent to fit the holes. To hole the loops in place I can use any kind of glue or epoxy that will stick to both the loop and the material I'm working with. Most often I use a super glue gel and an accelerant to harden the super glue. 

Bonus Tip: I've have a few kinds of accelerant from spray kinds to baking soda. The spray ones are great to flow into areas I cant reach. The down side is they can be pricey and the smell can be a bit offensive if you use a lot of it. Baking soda is cheap and gives the glue a bit more strength. It can sanded and it will even hole a screw. Best of all, no additional smell! Down side is if you put the baking soda in the area you want to fill first, the glue must fully penetrate it before hardens else you will have a cavity of dry material. 


Monday, February 1, 2021

Slide of the Month - Dental disaster


February 1, 2021

Time to make: 2 hours

Finishing: 1 hour 

Boy's Life Jul. 1983, p. 72 

Original design:  Fritz Hines 


So with Covid-19 still a thing, a lot of dentists in our area have decided to retire instead of instituting new equipment and safety procedures. The ripple effect of this is long waits to get an appointment with existing dentists (once they opened again). I have gone a little over a year trying to get a cleaning or exam. So this might be a good time to present to you the Dental disaster.

Carved from a large hunk of maple, the lips were formed with a rounding over method and a lot of sanding. The teeth took shape with simple v-cuts and the missing teeth were made by removing the wood from that area. A 3/4 inch hole was bored for the neckerchief to pass through. When it came to painting the slide with hobby paints, I wasn't particularly careful as I wanted to show ragged gums and tooth decay around the missing teeth. I didn't think of it till just now but I should have used a yellow wash over the teeth too. (Might have to go back and repaint it sometime down the road.) Anyway, a couple coats of poly finish it off.